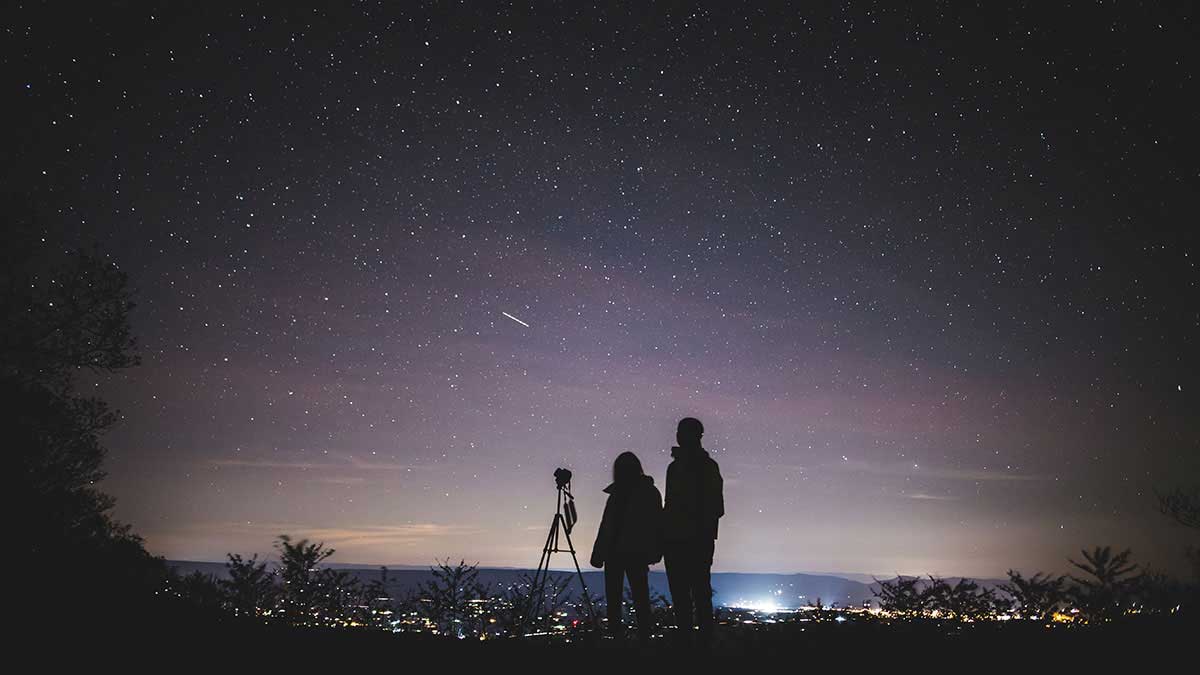
There are two things that human beings have seemingly been captivated by for centuries: the stars in the sky and being able to capture the beauty of nature.
Naturally, this has led to the evolution of astronomy, then photography, which has then led to the evolution of astrophotography as a combination of the vastness of space and the universe and capturing the beauty of the night sky.
Astrophotography is a popular type of photography because it requires a lot of patience and skill in equal amounts. It’s not the same as hitting the shutter button on a landscape because the imager is much different, but when it comes to ensuring that the end product is worthy of looking at, there are many similarities.
In photography, during the post-processing phase (editing, importing, exporting), there is a term that everyone should know, which is workflow. This is a general term that means the rate and efficiency at which you can get tasks done.
If you’re struggling with your astrophotography workflow, check out these 8 tips to help you.
1. Improve Your Computer Setup
It might seem unnecessary to your workflow, but the hardware you’re working with could be seriously impeding your work. Whether you use a PC or Mac is irrelevant, as long as your computer has an adequate CPU, GPU, and RAM capacity. These internal components of your computer will allow programs like Photoshop or Lightroom to run much faster which gives you quicker load times to finish your work. If you can, try to update your photography editing computer.
2. Choose Lighter Equipment
Another part of your workflow which is more to do with the hardware than the actual processing phase is picking more comfortable equipment to work with. If you’re taking a long time to lug a camera bag, tripod, or telescope up a hill to get your photos, you’re losing on plenty of time you could be spending on editing without even knowing it. You should always find a portable telescope that won’t be a hassle to move, but also bring with you the gear you know you need. Unnecessary weight is just going to slow you down.
3. Learn and Use Keyboard and Program Shortcuts
During the workflow period on your computer, you need to start learning the shortcuts. Primarily, shortcuts in the editing suites. The FN key is going to be a gateway to opening menus and using tools much faster than clicking. There are hundreds of keyboard shortcuts to learn, but they’re all worth the time and effort to memorize them. They will save you tons of time in the long run.
4. Always Shoot Your Astrophootgraphy in RAW Format
This one goes without saying for any photographer but you should always be shooting in RAW format if you can. RAW format files are larger, but the result is much clearer and quality photos. They can sometimes take longer to import or export because of the file size, and depending on the size of the canvas you’re shooting for your astrophotography, but having the quality to work with will make it easier for your workflow. Not to mention, shooting in one format consistently makes your editing more streamlined.
5. Take Advantage of Presets and Batch Editing
Sometimes while you’re editing you don’t have time to do each photo individually because you have taken hundreds of exposures, this means you need a much quicker way to fly through your content. Presets and batch editing are your solution for this workflow issue. Presets are filter packs and overlays that can be instantly applied to achieve the desired effect for a photo. You can either make them yourself by testing out the editing on exposures, or you can download packs of premade filters. Another good idea is to use batch editing to apply those filters or editing to an entire collection or folder all at once.
6. Creat Exporting Master Settings
Exporting is a point in the post-processing workflow that can take a lot of time because you’re tinkering with the settings. To get around this issue, you want to make master export settings for the photos. That means if you’re exporting photos for print, they will all have the same uniform settings to make sure that they retain the highest quality when ready for printing. Similarly, exporting for social media posts will have different DPI or resolution settings, but if you apply these master settings instead of individually exporting each one by their assigned role, then your workflow will be much more efficient.
7. Have Backup Storages Ready
This is another piece of general advice, but always have backups handy. Memory cards, USB drives, SSDs, or HDDs should all be readily available and in use to protect against any outages or lost memory. Making backups will prevent hours and hours of work during editing or shooting from being lost. You should be backing up all of your collections, files, and folders of your astrophotography to prevent your hard work from being wasted.
8. Take Short Breaks
The last tip is to take short breaks. It might seem like it’s cutting into your workflow and productivity, but it’s a law of diminishing returns when you push yourself for too long. The longer you’re staring at a screen, the less you’ll start to notice in terms of editing, the more mistakes you’ll make, and the more you’ll start to skip important steps. Work for an hour and then give yourself a short break to unwind for a bit, then hit the editing again with a clearer head, it’ll help you be more attentive and focused.
Astrophotography is a fun form of photography because you get to capture the elusive night sky in a still image. Long exposures and panoramas help you visualize the stars in the sky in ways the human eye can’t and help you appreciate the universe we’re in through your art. With that in mind, you should use those 8 tips to make sure that all the time you spend on the photos isn’t overshadowed by countless hours spent toiling away in your editing software with a slow workflow.


